Running Google Coder On Your Existing Raspberry Pi Or Desktop PC
Warning!
Google Coder currently changes the password of the "pi" user account to the one you enter in the web interface. If you find yourself unable to SSH or otherwise log into your Pi after following this guide, then use the password you specified for Coder and change it back with "passwd" at the command prompt.
To disable this password change, please do this in the coder/coder-base directory before running Coder:
echo "" > sudo_scripts/setpipass
If you want to set up Coder on a non-Pi linux system, you will also need to do the above. Coder doesn't appear to use the Pi account for anything, but sets it presumably for convinience in full SD-card based installs.
And now, on with the show:
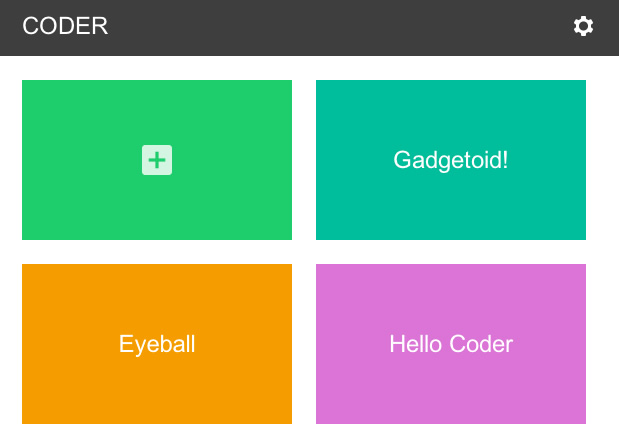
You've probably heard of Google Coder, it's being pitched as a simple way to make web stuff on the Raspberry Pi. And it is! The side-by-side code and preview is great, and the clean, simple web-based IDE keeps out of your way and lets you get down to learning.
Getting Coder up and running on the Pi can be very simple, but you have to swap to a different SD card or sacrifice your existing installation to use Google's image. That's a bit of a pain if you're just interested in giving it a try, or want to test the water before you start re-imaging an SD card!
Fortunately, the quick and easy way is not the only way. Coder is just a NodeJS application, and you can get it from GitHub here: https://github.com/googlecreativelab/coder and have it up and running on your Pi or your desktop in a few minutes!
The part of Coder you're interested in is coder-base. Here you will find server.js which you can run with Node.
Running on your desktop
To get it running on your desktop PC you'll need to download NodeJS and install it. I'll be working on a Mac, so you'll have to fire up "Terminal" ( search for it in Spotlight ) to continue once you've got NodeJS installed.
First up, let's get the GitHub repository. If you've got Git set up on your system you can just:
git clone https://github.com/googlecreativelab/coder
Otherwise, you can download Google Coder in a zip file
Unzip the file, and locate it in your Terminal session. You'll need to cd into coder-base and get some dependencies installed.
cd coder-base
npm install
You'll see npm run through a whole list of packages which it'll install to support Coder. Once it's done, turn your attention to config.js.
I changed mine to:
exports.listenIP = '127.0.0.1';
exports.listenPort = '8081';
exports.httpListenPort = '8080';
exports.cacheApps = true;
exports.httpVisiblePort = '8080';
exports.httpsVisiblePort = '8081';
You can ignore the stuff about SSL.
Once the settings are changed, fire up the server by typing:
node server.js
If all went well, you should see a message a bout generating a 2048 bit RSA key. Be patient!
Fire up Google Chrome and enter: https://127.0.0.1:8081
You'll see a warning about SSL, just continue!
Enjoy!
Running on your Pi
I'm going to assume you've got Raspbian. You should be able to follow these steps:
sudo apt-get install nodejs npm git
git clone https://github.com/googlecreativelab/coder
cd coder/coder-base/
npm install
The last step will take some time. Once npm has done its thing you need to edit config.js in your editor of choice. On the Pi you'll want to leave the IP setting as-is, but change those ports if you don't want them to conflict with an existing web server or service on your Pi. I changed mine to 8151 and 8150 respectively.
Finally, type:
nodejs server.js
You'll see a message about generating a 2048 bit RSA private key. Be patient.
Once it's done, open up Chrome and enter: https://
You'll see a warning about SSL, just continue!
Set yourself up a password, and enjoy!
« Back to index Posted on 2013-09-17 by Philip Howard